Fyxation Tech: How to Install Studs on Dillinger Fat Bike Tires
Winter's here in full force and as I sit and write this an Arctic air mass is overhead keeping temperatures in the single digits. While my fat bike keeps me riding year round, a warm day followed by a freeze or an icy lake can require more grip than even a wide tire can handle. So as soon as that first snow comes, I turn to studded tires.
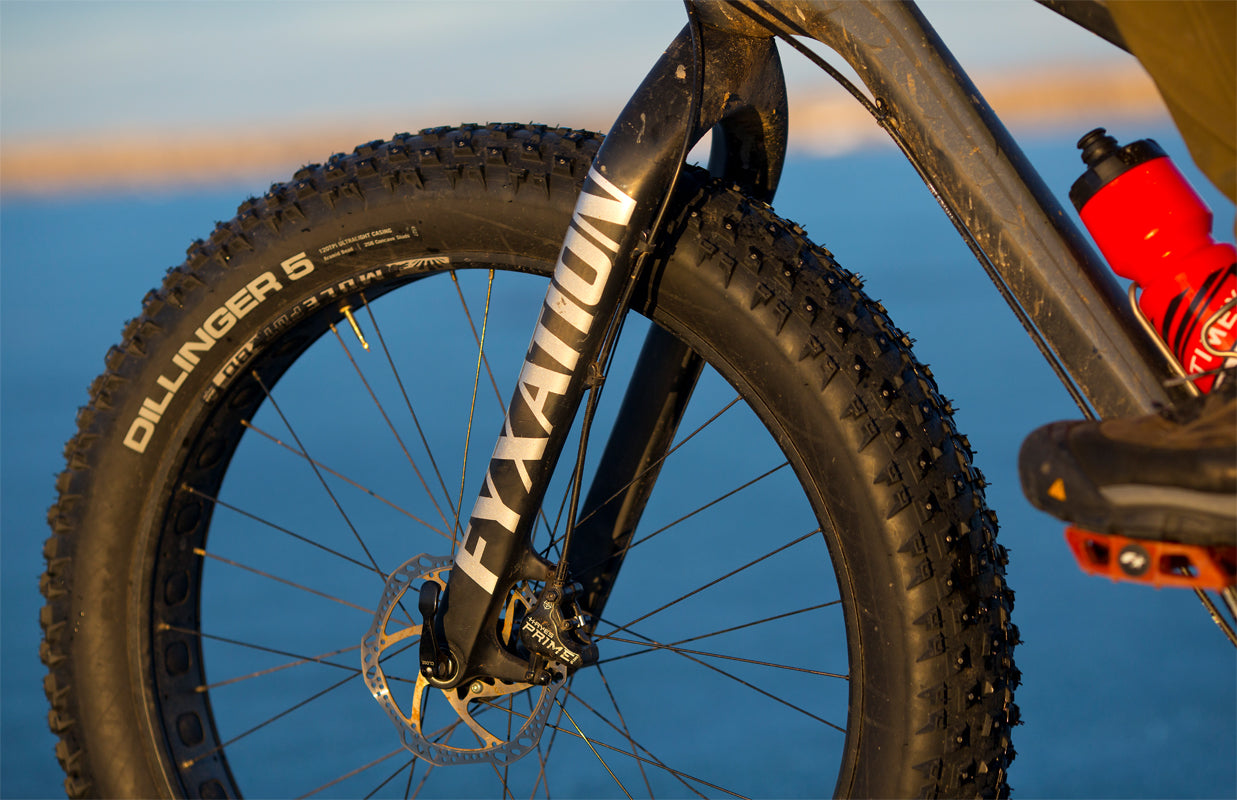
I've been riding Dillinger tires from 45Nrth for nearly three years. Once the first Summer season came to a close and snow was on the horizon, I took advantage of the studdable nature of these tires. While these tires are available pre-studded, those of us that have them without studs installed aren't out of luck. Stud kits and the installation tool are available from 45 North. We've studded our own Dillinger tires and for customers so we thought we'd take the time to show you how it's done. Terrene also offers their Wazia tire in both studded and studdable versions.

What you'll need:
- 45Nrth Dillinger 4 or 5 tires
- Stud kits (100/pack) - Dillinger 4 (240 studs/tire), Dillinger 5 (258 studs/tire)
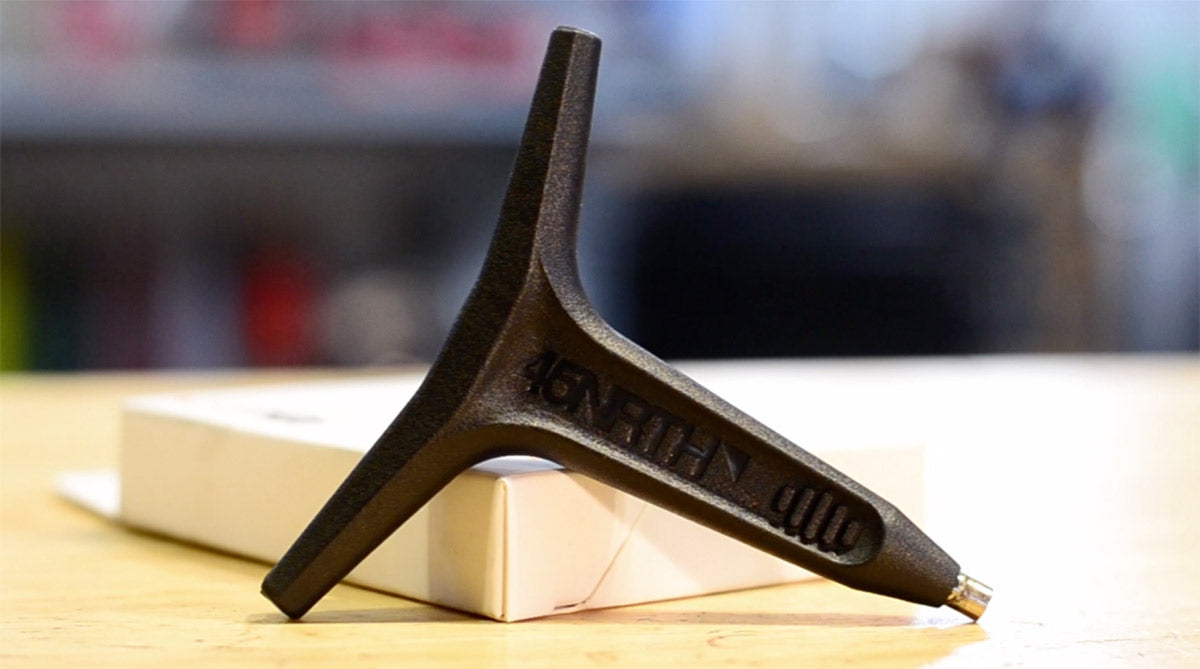
- Installation Tool
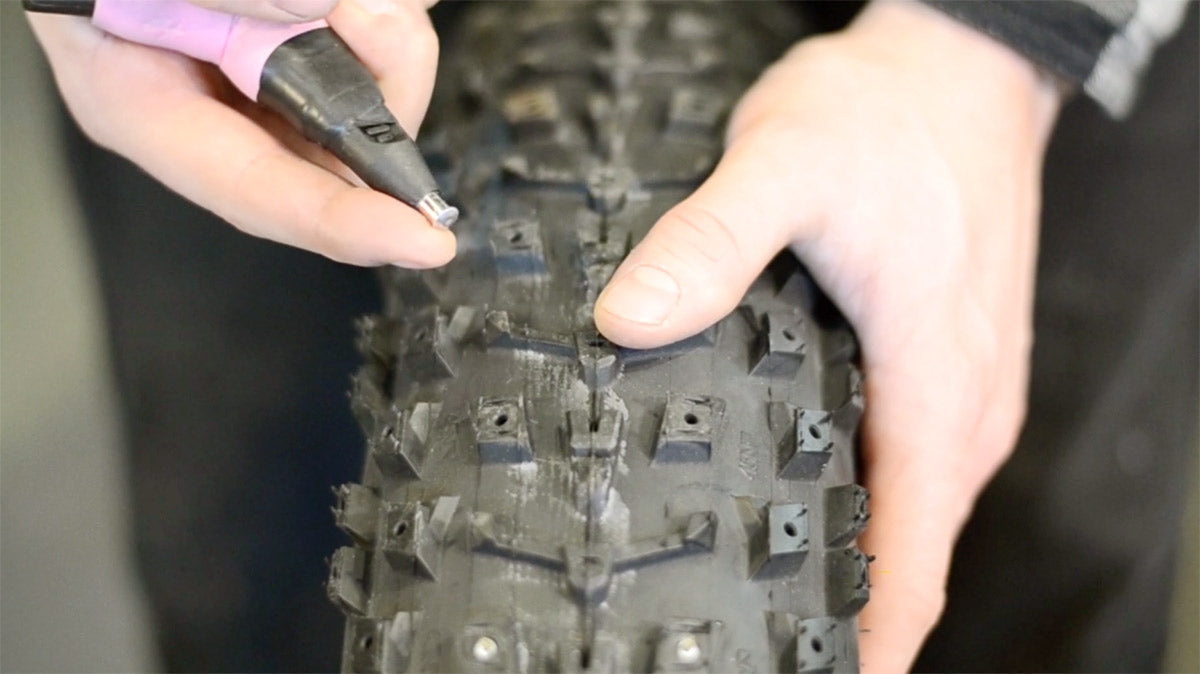
 To install the stud, insert the stud into the end of the installation tool. With the tire held firmly, place the stud at a 45 degree angle to the stud pocket in the tires. Firmly press the stud into the tire, working it around in a circular motion until the stud is fully seated in the tire. Repeat this process and stud the tire as desired. A fully studded Dillinger 5 tires requires 258 studs and takes around an hour to complete.
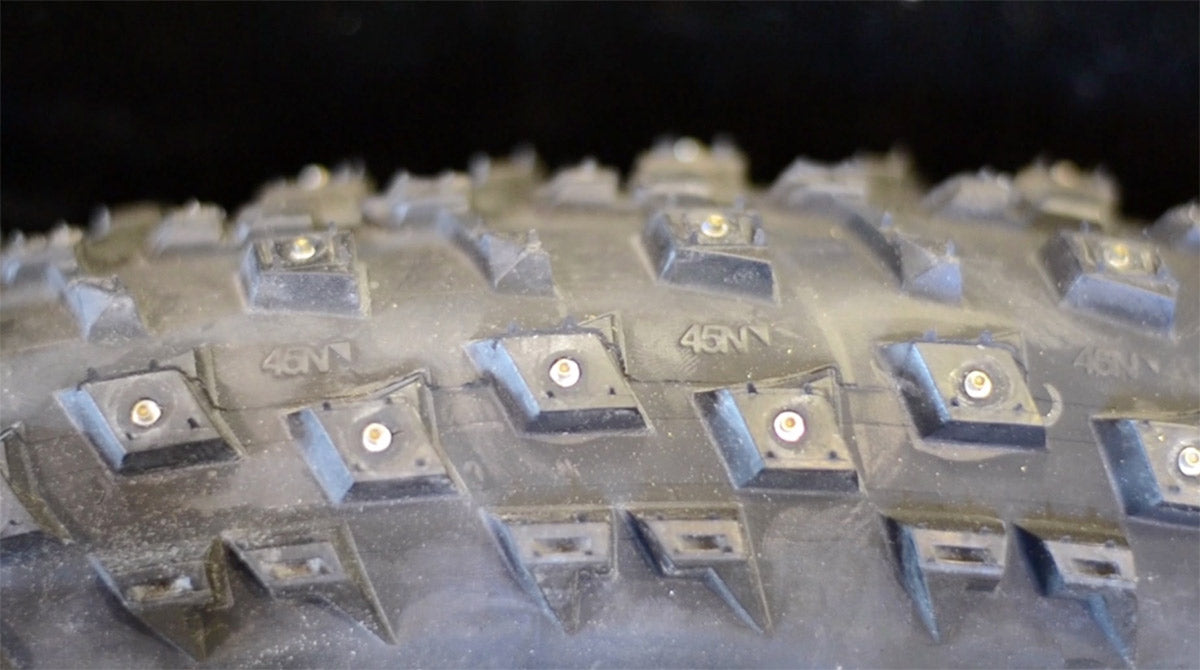
 Once complete, take the time to look over each stud to insure they are installed correctly. The studded should be fully seated in the stud pocket, with the body of the stud flush with the tire knob. If a stud is not fully seated just use the tool to complete insertion being sure to rotate the tool with a circular motion.


Leave a comment